How To Tie An Egg Loop Knot
Learn how to tie the egg loop knot, in this step by step video.
Comments Off on How To Tie An Egg Loop Knot
April 23, 2010
Learn how to tie the egg loop knot, in this step by step video.
Spring chinook fishing on the Columbia near the I-5 bridge in early April, 2010!
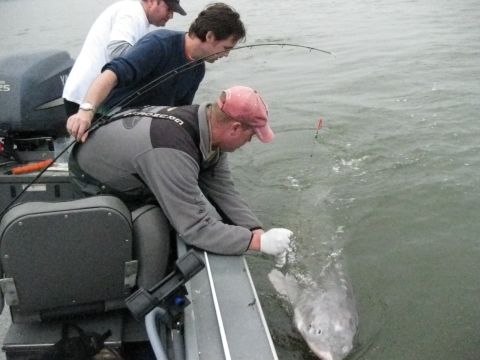
Check out our Astoria Fishing Charters and Washington Halibut Charters Sturgeon fishing tips and techniques are fundamental for consistently catching high numbers of sturgeon and big sturgeon. The following 5 sturgeon…
Check out our Astoria Fishing Charters and Washington Halibut Charters OLYMPIA – Forecasts for strong chinook salmon returns to the Columbia River this summer could lead to improved fishing in…
Check out our Astoria Fishing Charters and Washington Halibut Charters Photos courtesy of Flickr & Cor23 The record 2009 summer steelhead return to Idaho and northeast Oregon streams has continued…
This video was taken off of the mouth of the Columbia River in the ocean. The pots had soaked for a couple of days and were absolutely full!
Check out our Astoria Fishing Charters and Washington Halibut Charters Pros and Cons of Anchoring for Spring Chinook This is the second half of a two part article. Go here…